- 02 Jul 2021
- Linksys
- Linksys Extender Setup Troubleshooting
- Comments: 0
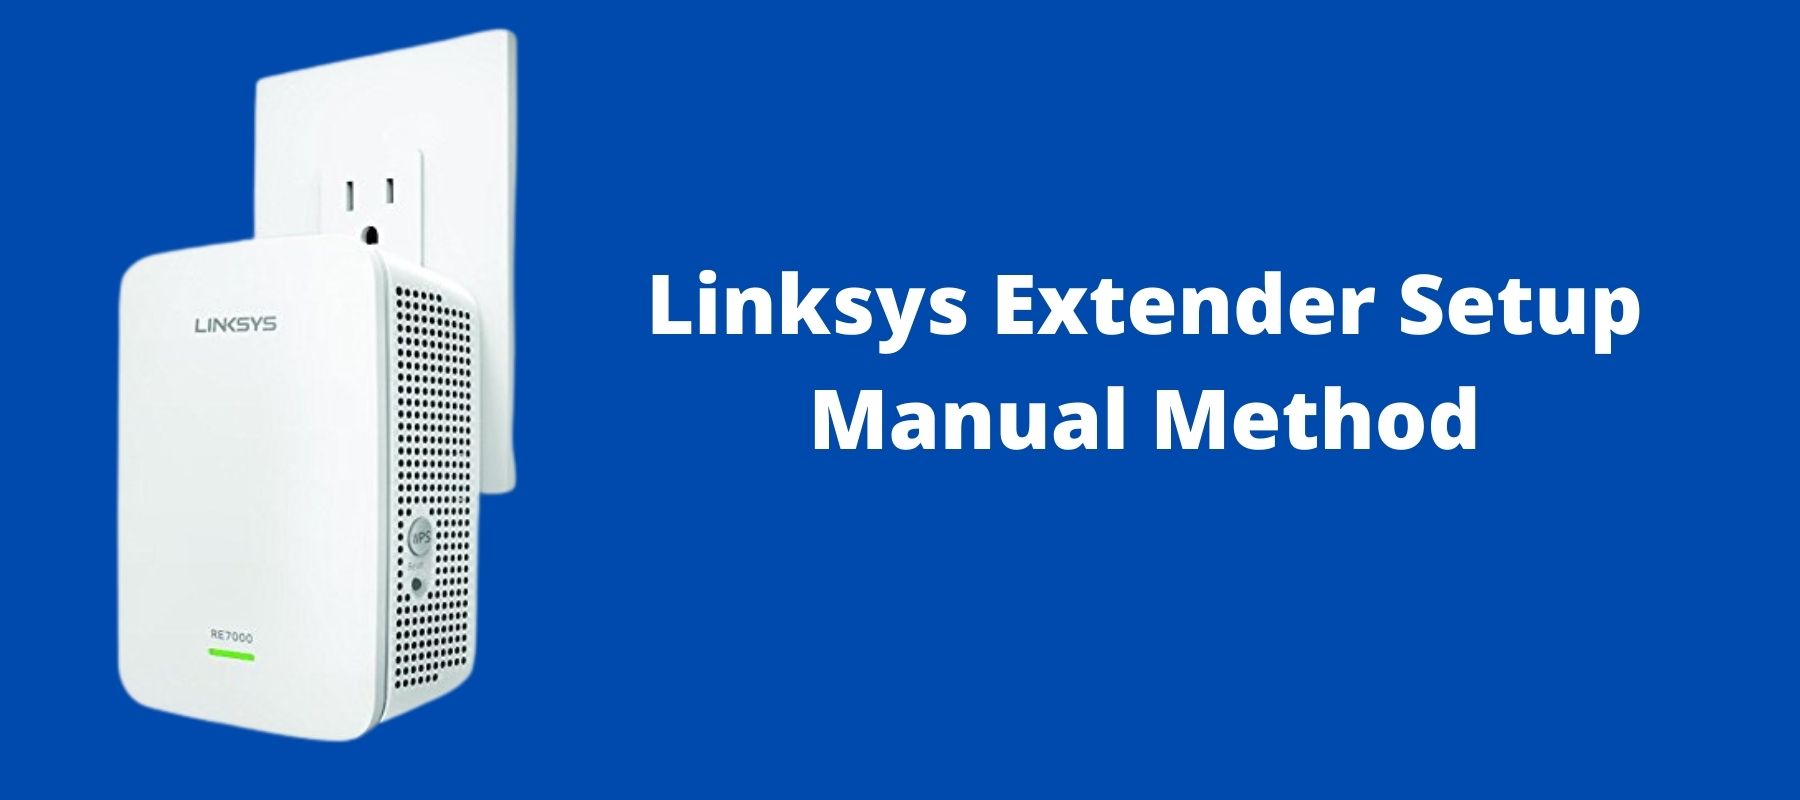
Manually Setup Linksys Extender Wireless-N Range
The Setup Linksys Extender Wireless-N Range allows you to repeat the wireless signal of any access point or router to supply Internet connectivity in hard to succeed in areas through a wired or wireless connection. this text will guide you on the way to manually configure your wireless range extender. It acts as a device that receives the Wi-Fi signal from the router.
To install the Linksys wifi extender, the router permits you to increase the wireless signal for the access point or router to increase the web connectivity employing a wired or wireless connection. Get the router’s settings like network name and password. you would like to reset the range extender. Long-press the push button present on the panel of the extender. Wait until the LED starts flickering to revive the factory settings. undergo the steps below to determine the connection for a way to put in Linksys wifi extender.
Setup Linksys Extender
- Link the pc to the Ethernet port of the range extender using a coaxial cable.
- Connect the range extender to the facility outlet. the LED light is not blinking.
- Open the online browser and sort the router’s IP address within the Address bar.
- A window displays posing for a username and password. Leave the user name blank and sort admin within the Password field. Select the Login option.
- Select Wireless and click on the essential Wireless Settings option.
- Assign the radio button to Manual and sort the router’s Network name.
- Choosing the safety settings is analogous thereto in the wireless security section.
- Type the passphrase or WEP Key on the search bar and choose Save Settings.
- Detach the facility cable from the router and therefore the range extender for 30 seconds.
- Refrain from proceeding until the lights are stable then insert the range extender.
Related Posts
Why is my Linksys RE6500 WiFi Range Extender disconnecting so frequently?
12 Jan 2022 0How Do You Setup Linksys RE1000 Wireless Range Extender?
12 Jan 2022 0Is Your Linksys Extender Failing to Broadcast SSID?
11 Jan 2022 0